Tuesday, April 26, 2016

Cinnamon Cottage Cheese Mini Muffins


If you've been following my blog, I'm sure you know by now how I hate waste. If I buy an ingredient, I typically find a way to use it in several ways because I hate the idea of throwing away food. I bought some cottage cheese to see if my daughter might enjoy it as a snack. It is inexpensive and high in protein, so I figured, why not? However, there is only so much cottage cheese she can eat, so I needed to find something to make with the rest of it since my husband and myself do not enjoy just eating it. To be honest, I don't care for cottage cheese at all, so I knew I would need to find a way to prepare it that would make it no longer even seem like cottage cheese.  I made these Cottage Cheese Pancakes from Weelicious for my son when he was younger, and they were a big hit. But this time I was looking for something different...I know this is going to shock you, but I was looking for some way to use the cottage cheese in muffin form. Shocking, right? A muffin recipe on my blog?? How unexpected! I know, I know...I post a lot of muffin recipes. But to be fair I make muffins at least once a week. They make for a very quick and easy breakfast for my whole family, and it is very easy to switch them up and make different flavors and make them healthier. 

So today I would like to share theses Cinnamon Cottage Cheese Muffins...that don't taste like cottage cheese! That is a promise from me because, like I said before, I do not care for cottage cheese, so if they tasted like cottage cheese, I would not have eaten more than one of them, and I have definitely had my fair share. My 3-and-a-half year old really loves them...he ate 8 or 9 of them the first day I made them. My 19-month-old really enjoys them too! My husband told me he absolutely loves the texture of them and enjoys them more than any other cinnamon muffin I have ever made...that is high praise because, as I said before, I make a lot of muffins! 

I adjusted the recipe a bit from the original, and I think it would be easy to adjust it more to make them even healthier. I think replacing some (or all) of the sugar for honey would work quite well as that that is the only part of this recipe that is concerning to me health wise. I usually prefer to use no more than 1/2 cup of sugar in a muffin recipe, and this one calls for 2/3 cup. I did not decrease the sugar when I made these the first time because I was afraid if I did they might not be sweet enough with the cottage cheese in them. I still don't think I would cut down on the sugar (as these muffins are not overly sweet), but I think if I made them again I would use 1/3 cup of sugar and 1/3 cup of honey, just to cut down on the refined sugar. As always, feel free to change up the recipe to fit your family's needs! Here is how I made these Cinnamon Cottage Cheese Muffins: 

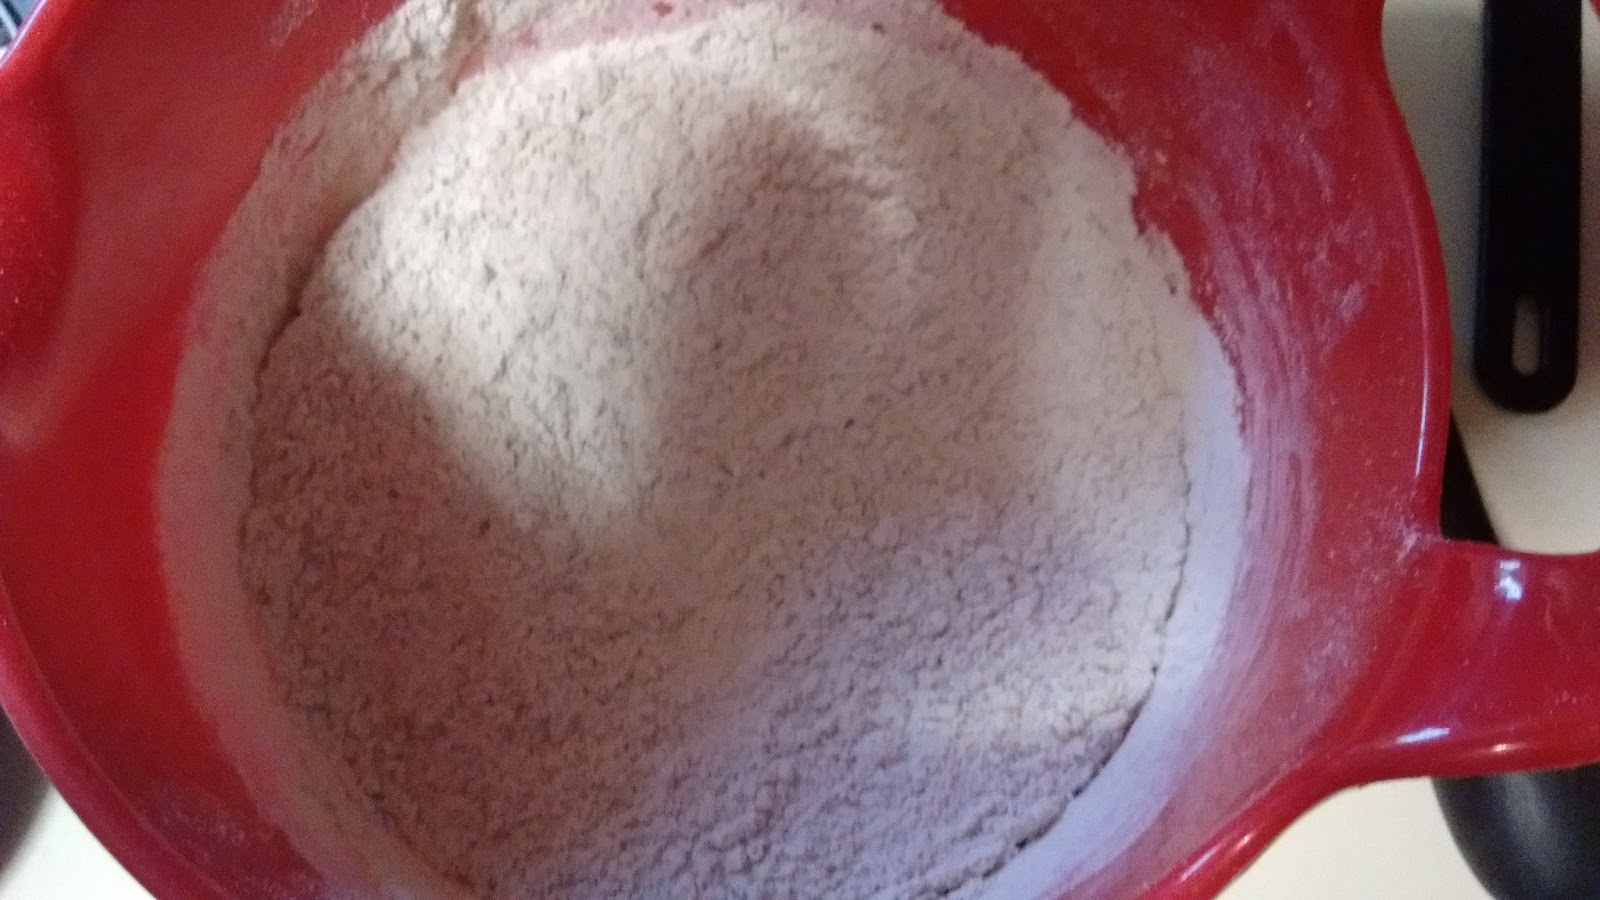
Start by mixing your dry ingredients together in a medium bowl. I replaced some of the flour in the original recipe with whole wheat flour, but not all of it as I was afraid the muffins would be too dense. Whisk together the all-purpose flour, whole wheat flour, baking powder, cinnamon, salt, and sugar, and set this aside. 


Next, to make sure there were no chunks of cottage cheese, I combined cottage cheese, applesauce, and a splash of the 2/3 cup milk in my electric food mill and blended until the cottage cheese chunks were as small as I could get them. This step is optional and was not in the original recipe, but for me it was a necessary step to ensure there were no chunks of cottage cheese in the final product. 


In a large bowl add the blended cottage cheese mixture, the rest of the milk, an egg, vanilla, and oil or butter. Whisk this together until smooth. 


Then add the dry ingredients to the wet ingredients and gently mix until combined. 


Pour into a greased mini muffin tin, filling about 2/3 full. 


I baked these at 400 degrees for 12 minutes, or until the tops were golden brown and sprung back when I pressed them lightly. These muffins are very moist, so a toothpick may not come out clean even when they are fully cooked. Regular-sized muffins will bake for 15-17 minutes. I always prefer making mini muffins if I my kids will be eating them because they are the perfect size for little hands to hold. 


Let the muffins cool in the pan for a few minutes, then remove them to a wire rack to finish cooling. 

I sat these on the kitchen table instead of the counter to cool today, and I'm pretty sure my son thought that meant the entire cooling rack was his serving of muffins...he kept eating them! 


Also, how cute is he in his super man jammies?? Even Super Man needs an energy boost from a muffin from time to time! 


These muffins are quite tasty! The cottage cheese just makes them very moist. They are best warm from the oven, but they hold up for a few days. We are on day 3 of eating them, and they are still good. I do nuke mine in the microwave for a few seconds so they are a little warm. My kids and husband eat theirs at room temperature. 


So if you have some extra cottage cheese on hand, give these a try! They are very good! I imagine you could add blueberries or some other fruit to give them even more flavor. However, my son prefers a plain muffin with fruit on the side. 


Here is the recipe for your reference! Happy baking and eating! 

Cinnamon Cottage Cheese Mini Muffins 
Adapted from this recipe

1 cup all-purpose flour
3/4 cup white whole wheat flour
1 tablespoon baking powder
1 1/2 teaspoon cinnamon
1/2 teaspoon salt
2/3 cup sugar
2/3 cup cottage cheese
1/4 cup unsweetened applesauce
2/3 cup milk
1 egg, whisked
1/4 cup melted unsalted butter or coconut oil or canola oil
2 teaspoons vanilla

Directions 
1. Preheat oven to 400 degrees. Grease a mini muffin or regular muffin tin with nonstick spray. 
2. In a medium bowl, whisk together the flours, baking powder, cinnamon, salt, and sugar. Set aside. 
3. In the bowl of a blender, food processor, or electric food mill, combine the cottage cheese, applesauce, and a little of the milk. Blend until smooth. (You can skip this step if you are not worried about the texture of the cottage cheese.) 
4. In a large bowl, whisk together the cottage cheese mixture, the rest of the milk, egg, butter or oil, and vanilla. 
5. Add the dry ingredients to the wet ingredients and stir gently to combine. 
6. Add batter to greased muffin tin, filling 2/3 full. Bake mini muffins for 12 minutes and regular sized muffins for 15-17 minutes. Muffins are done when the tops are golden and spring back when you press them slightly. Makes 36 mini muffins or 12 regular muffins. 


Sunday, April 24, 2016

The Easiest Homemade Meatloaf


I'm sure you can assume that since I have a food blog, I really love to cook. It's true...I love trying new recipes, and I am always trying to make every dish I make the be best it can possibly be. My husband really enjoys everything I make...he jokingly says it's half the reason he married me. :-) Even though he is of course extremely happy with a big fancy meal where every piece is made from scratch and perfect, some of his favorite dishes that I make are the most simple. This meatloaf is one of those meals. It is so very easy and always delicious. I actually told him the night before that I would be making this for dinner the next day and he texted me a little after lunch and said he had been looking forward to meatloaf all day. An easy meal that makes my husband that happy? Count me in! 


This is not just any regular meatloaf recipe, and the subtle changes are what makes it most appealing to me. You see, growing up I did not like meatloaf...at all. Not even a little bit. My mother would fry up a plain hamburger patty for me to eat because I simply refused to eat meatloaf. (What a pain I must have been to cook for...sorry Mom!) I first saw this recipe in a Kraft Food and Family Magazine several years ago, and the idea really intrigued me...a meatloaf recipe that actually sounded good?! Surely not! So what, you may ask, makes this meatloaf recipe so special? First of all, it is topped with barbecue sauce instead of ketchup, which is a big plus for me. I like ketchup to dip French fries in, and that's about it. But the ingredient that really makes this meatloaf shine is the store bought stuffing mix. (Gasp!) I know, I know...it's not the healthiest thing in the world, but this is not a dish that we eat that often...maybe every other month or so. The stuffing mix is used in place of any bread crumbs or vegetables, and it is really delicious! Not convinced? Let me show you how this goes...

First, combine ground beef, store-bought stuffing mix (I buy it in the large canisters, so it is easy to measure out), water, barbecue sauce, an egg, and some finely chopped baby spinach leaves in a bowl. The spinach leaves are a new addition, and honestly you could not taste them and they added pretty little green flecks to the meatloaf, so I will put them in from now on...I will probably add even more spinach next time. 


Mix these ingredients together with your hands until just combined. Sorry folks...you have to mix meatloaf with your hands. There is really no other way to combine the ingredients together properly. Also, be sure not to over mix the ingredients or you will have tough meatloaf, and nobody wants that. I went ahead and divided mine into 4 equal portions since I am making individual meatloaves instead of one big meatloaf. 


My husband and I both really like the ends of the meatloaf the best...you know the parts that get just slightly crispy at the edges? Yum! So I have started making these like individual meatloaves, so we get those edges all the way around. Best. Idea. Ever. I actually didn't look at my own recipe card when I was making these today, or I would have seen that I was supposed to separate these into 12 1/4 cup portions. Instead I just divided the meat mixture evenly to make 8 individual meatloaves...so make 8 or 12...whatever you like. I think I'll try to pay better attention and make 12 next time because smaller meatloaves equals more crispy edges, and that's what it's all about to me! Whatever size meatloaves you make, put them on a foil-lined baking sheet that has been sprayed with cooking spray. 


Then pour a bit more barbecue sauce over the top of each meatloaf. I don't measure this, but we like ours totally covered in barbecue sauce. I used my homemade barbecue sauce, and it was delicious, but usually I use store bought. I just happened to be out of it this time, and my homemade sauce is super easy to make! I drizzle a bit of sauce on top of each one.


Then I use a spoon to spread it around, making sure the top and sides are completely covered. If it doesn't look like enough, I just add a little more sauce. I did end up adding more here...yes we like a lot of sauce on ours! 


Bake the mini meatloaves at 400 degrees for 20-22 minutes. (If you do 12 smaller ones, bake them for 16-18 minutes). If you prefer a regular meatloaf, just shape the meat mixture into an oval loaf shape in an 8x8 a baking dish and bake for 50 minutes, or until cooked through. 


When you separate them into 12 portions, they look a bit more like meatballs...I guess it would be meatloaf balls? Well that just doesn't sound right at all...let's stick with mini meatloaves, shall we? 

A regular meatloaf will look like this...not too shabby, eh? We ate it like this for several years with no complaints, but I have to say my husband and I both prefer the individual meatloaves. 

I always serve meatloaf with mashed potatoes and a green vegetable. Today I had some asparagus that I needed to use, so we had roasted asparagus. 


Since I usually have them on hand, sometimes I sprinkle some French fried onions over top.This is not a necessary step, but it sure is tasty! 


Roasted Brussels sprouts are also delicious on the side. 


As are green beans and green bean casserole. That's actually where the idea for adding the French fried onions came from...I already had them out for the green bean casserole, so I figured why not? 


However you serve it, it is delicious! I can't resist anymore...I'm going in! 


The original recipe makes twice as much meatloaf, which is more than our family needs, so if you need a meatloaf recipe using 2 pounds of ground beef, simply double everything, and you can use an entire regular box of stuffing mix for the perfect amount. Also bake the doubled recipe in a 9x13 pan if making a regular meatloaf. 


The Easiest Homemade Meatloaf

Adapted slightly from: Kraft Recipes

1 pound ground beef (lean is best, but I usually use ground chuck) 
1 1/2 cups chicken flavor stuffing mix 
1/2 cup water 
1/4 cup barbecue sauce, plus more for the top of the meatloaf. 
1 egg, beaten
1/2 cup finely chopped baby spinach leaves (optional) 

Directions 
1. Preheat oven to 400 degrees. Line a baking sheet with foil and spray with cooking spray. 
2. Mix all ingredients together in a large bowl just until blended. 
3. Place meat mixture in 1/4-cup portions onto prepared baking sheet. (You should get 12 individual meatloaves). 
4. Bake for 16-18 minutes. (For 8 larger individual meatloaves, bake 20-22 minutes. For a regular sized meatloaf, shape into an oval loaf in an 8x8 pan and bake for 50 minutes.) 


Saturday, April 23, 2016

Easy Homemade Barbecue Sauce


Today I thought I would share a super easy homemade barbecue sauce recipe! This is so simple to make...you just stir everything together in a pot and let it simmer for 20 minutes or so, and that's it! I found the original recipe when I was out of bottled barbecue sauce once, and I have tweaked it to suit my family's tastes, and we love the results! This is a sweet, tangy, smoky, and slightly spicy sauce. It is delicious on chicken, pork, and beef, and I bet you already have all of the ingredients on hand. Of course, feel free to adjust the amount of each ingredient based on what your family likes...if you like a less sweet sauce, cut back on the brown sugar. If you prefer a very spicy sauce, add more hot sauce. That's the fun of making your own sauce...you can really make it taste exactly the way you want! So here we go...

In a small saucepan combine ketchup, brown sugar, Worcestershire sauce, cider vinegar, hot sauce, garlic powder, yellow mustard, salt, liquid smoke, and molasses. Honestly, the molasses are totally optional. I know not everyone just happens to have molasses sitting in their pantry, but I usually have some leftover from holiday baking, so I add a splash of it to this sauce. The original recipe does not include it, and it is delicious without it. It just adds a little something extra and some nice color. Also, if you don't have the liquid smoke, don't worry about it. Your barbecue sauce will just be less smoky. It only takes a tiny bit of liquid smoke, and I have a very small bottle that I keep just for recipes like this when I want to add a little bit of smokiness. 


Once you have that all in your pan, give it a stir then bring it to a simmer over medium heat. 


All you really have to do is heat it up, and it is perfectly usable, but I like to let mine simmer for 20 minutes or so over medium-low heat to let it thicken a bit and really develop the flavors. I think a good barbecue sauce needs to simmer for a little while so it loses some of that "ketchupy" flavor (for lack of a better word). Not that I have anything against ketchup, but when I want barbecue sauce, I want barbecue sauce...not ketchup with a slight barbecue flavor. 


You can see how it looks darker and more like what you'd expect from a barbecue sauce. Yum! Also it's nice and thick! 


Here is the recipe for your reference. This sauce is really delicious, and takes very little time and effort! 

Easy Homemade Barbecue Sauce 
Adapted from: Food.com

1/2 cup ketchup
2 1/2 Tablespoons brown sugar
2 1/2 Tablespoons Worcestershire sauce
1 Tablespoon + 1/2 teaspoon cider vinegar 
3 dashes hot sauce
1 teaspoon garlic powder 
1 teaspoon yellow mustard 
1/4 teaspoon salt 
1 dash liquid smoke 
1 dash molasses 

Directions
1. Mix all ingredients together in a small saucepan, and bring to a simmer over medium heat. 
2. Reduce heat to medium-low and allow to simmer for up to 20 minutes. 
3. Allow to cool slightly and serve! 

Wednesday, April 13, 2016

Oatmeal Applesauce Mini Muffins


Okay I have a confession to make...I do not like oatmeal. There, I said it. I wish I did. It's a very healthful breakfast option after all. Do a quick Google search on the health benefits of oats, and you will see page after page touting how great they are for us! My children and husband all love oatmeal (thank goodness), but I just can't seem to get on board. I have textural issues with food sometimes, and I think that is the issue here. Until recently, I didn't even like oats added into other food items such as cookies, muffins, pancakes, etc. I kept trying, but it seemed like oats and I were never meant to get along. That is...until recently! 

I found that if I soak oats over night it reduces the texture that I find undesirable, and it is really not that much of an extra step. This works well with muffins and pancakes or anything where there is a large amount of liquid to soak your oats in. I've seen a lot of recipes that call for soaking oats to make "soaked oatmeal" as well, so if you enjoy oatmeal, check out some of those recipes. I've sort of become obsessed with oatmeal pancakes and muffins lately because finally I have found a way to enjoy oats for breakfast...and it only took me 32 years! Better late than never, right? 

Today I wanted to share (drum roll please) yet another muffin recipe! Yes, we make a lot of muffins at my house. It's such an easy breakfast option. They are easy to make and very easy for little hands to eat. What's more, my kids never complain about muffins. I try to make them as healthy as possible, and adding oats is another way to do that. Plus making muffins one day makes for a very quick breakfast for the next few days (or even longer if I make a large batch of them and freeze some). These Oatmeal Applesauce Mini Muffins are delicious, and easy to make. Let's get to baking! 

I start off by pouring one cup of milk into a measuring cup, then adding in one cup of rolled oats. Use whatever milk you like...I've only tried it with cow's milk since that is what we drink, but non-dairy milks would probably work as well. Give the oats a little stir to make sure they are covered in the milk. Then refrigerate them over night. Soaking the oats isn't necessary to make these muffins, but in my opinion it greatly improves their texture, so I recommend it! The next morning, the oats will have soaked up most of the milk, and they will look like this: 


In a large bowl combine the oat and milk mixture, an egg, applesauce, brown sugar, vanilla, and melted coconut oil or melted butter. I used coconut oil this time, but I have used butter in the past, and they are both delicious, so use what you have. I imagine canola oil would work as well, but coconut oil and butter are healthier fats, so I prefer to use them. Also, you will notice an unusual measurement for the brown sugar in this recipe...6 1/2 Tablespoons. That is not a typo. The original recipe calls for 1/2 cup brown sugar, and after making these once I felt that the sugar could be reduced. I was afraid 1/3 cup (5 Tbsp plus 2 tsp) might not be enough, but I wanted less than 1/2 cup (8 Tbsp), so that's where that measurement came from. They actually were plenty sweet, so next time I will definitely try 1/3 cup, and I will update the recipe if I like the results! 


In a separate small bowl combine white whole wheat flour, baking powder, baking soda, salt, cinnamon, and ground flax seeds. Set this aside. 


Next add the dry ingredients to the wet ingredients. 


Stir gently until just combined. Never over mix muffin batter, or your muffins will not rise properly. 

Fill a greased mini muffin tin with your batter, filling each cup about 2/3 full. Do not over fill  your muffin tins or it will be difficult for them to cook through in the middle, and they will not rise as well. (Trust me...I know from experience.) I get more than 24 of these, so after filling your muffin tin once, you will still have batter left over. If you prefer regular-sized muffins, they should take 15-25 minutes to bake. I haven't made them as large muffins since the mini ones are the perfect size for my children's tiny little hands. 


Bake your muffins at 400 degrees for 10 minutes. Muffins are done when the tops spring back and a toothpick inserted into the center comes out dry. 


Cool for a couple of minutes then remove them to a cooling rack. I have some cinnamon-sugar butter that I am trying to use up, so I spread the tops with a little of that. Totally an unnecessary step, but that's why the tops look so shiny. My mom used to always melt butter on the tops of muffins when I was a kid, so I love a good buttered muffin! 


These muffins are so tasty that my 19-month old daughter had a fit when I wouldn't give her a second muffin until she finished her first one. She threw herself in the floor (evidence below). Poor baby...being a toddler is so hard! 


Luckily, her little fits don't usually last long...especially since she did finish that first muffin and she promptly received a second. This Mommy keeps her promises. As you can see, this is a much happier baby! I asked her to show me her muffin...she's just too cute! 


She loves to have her picture taken. I asked her to take a bite of her yummy muffin, and she couldn't resist! Yum! 

These muffins are totally delicious! I hope you will give them a try! 


Oatmeal Applesauce Mini Muffins 
Adapted from this recipe

1 cup rolled oats
1 cup milk 
1/2 cup applesauce
1 large egg
6 1/2 Tbsp brown sugar 
2 tsp vanilla 
1 Tbsp melted coconut oil or melted butter, cooled 
1 cup white whole wheat flour
1 tsp baking powder 
1/2 tsp baking soda 
1/2 tsp salt 
1 tsp cinnamon 
1 Tbsp ground flax seeds 

Directions
1. Combine oats with milk and let soak over night. 
2. Preheat oven to 400 degrees. 
3. In a large bowl, combine the oat-milk mixture, applesauce, egg, brown sugar, vanilla, and melted coconut oil or butter. Set aside. 
4. In a separate small bowl whisk together the flour, baking powder, baking soda, salt, cinnamon, and ground flax seeds. 
5. Pour the dry ingredients into the bowl with the wet ingredients, and stir gently until just combined. 
6. Pour batter into greased mini muffin tin, filling 2/3 full. Bake for 10 minutes until the tops of the muffins spring back when you touch them and a toothpick inserted into the center comes out clean. Makes 32-35 mini muffins (depending on how full you fill them). 


Tuesday, April 5, 2016

Baked Chicken Teriyaki


I love trying new recipes. This is part of the reason I decided to start a blog...I figure if I'm trying lots of delicious food, I might as well share the recipes that really turn out great. I don't make extravagant meals every night, but my husband does have to remind me from time to time that it is totally okay with him if I make something simple. He's so sweet...he says, "I'm just thankful that you cooked me a meal, and I'll always be happy with anything you make me." He's a keeper for sure. I am actually the one who typically isn't okay with just anything. I want to make every meal be the best meal ever. Unfortunately, that is just not realistic when you have small children to take care of. Some nights I'm really not in the mood to stand in the kitchen chopping, sauteing, mixing, and so on. And on those nights it's great to have some easy but still delicious recipes in my arsenal. This Baked Chicken Teriyaki is one of those recipes for sure. You mix up the ingredients (they are all things I typically already have on hand), pour it over chunks of chicken and bake it in the oven. Cook up some rice, and steam a vegetable and you have an easy and delicious dinner! Here's how you make it! 

Mix together a teaspoon of cornstarch and a teaspoon of water in a bowl. 


To the cornstarch mixture add in the rest of the sauce ingredients: white sugar, brown sugar, soy sauce, cider vinegar, orange or pineapple juice (I used pineapple this time, but either one is delicious), garlic powder, ground ginger, and black pepper. Mix it all up. 


Chop up some chicken into chunks and put it into an 8x8 square pan. I used one chicken breast and one chicken thigh because that's what I had on hand. You could use all breasts or all thighs, depending on what you like. This recipe will work for 2-4 pieces of chicken. Two fed our family of 4 with very little leftovers. If you are going to use more than 4 pieces of chicken, I would recommend doubling the sauce. 


Pour the sauce mixture over top of the chicken.


Give it a stir to make sure the chicken is completely submerged in the sauce. 


Bake this at 375 degrees for 20 minutes. Then take the chicken out of the oven, give it a stir, and put it back in the oven. 


Bake the chicken for an additional 20 minutes. 


At this point the chicken is completely done, and you can go ahead and eat it at this point. I found the sauce to be a little thin for my taste, so I removed the chicken to a separate bowl. (I think next time I will try baking this at 425 degrees to see if the sauce will thicken up more on its own. I will update the recipe if needed!) 


Then I poured the sauce into a small pan and boiled it over medium-high heat until it was thick and syrupy. 


Then I poured this sauce back over the chicken, and voila! Chicken teriyaki! I think increasing the temperature might help the sauce to thicken up on its own, so that I can skip boiling it on the stove top next time, so I will definitely try that and update the recipe as needed! 


I served this with some rice and steamed broccoli, and it was delicious! And how easy is this meal?! Here's the recipe because I'm sure you're just dying to give this one a try! 


Baked Chicken Teriyaki 
Adapted from Food.com

1 teaspoon cornstarch
1 teaspoon water 
2 Tablespoons sugar 
2 Tablespoons brown sugar 
1/4 cup soy sauce
2 Tablespoons cider vinegar
2 Tablespoons orange or pineapple juice 
1/2 teaspoon garlic powder 
1/4 teaspoon ground ginger 
1/8 teaspoon black pepper 
2-4 boneless skinless chicken breasts or thighs, cut into chunks

Directions 
1. Preheat oven to 375 degrees. 
2. Whisk together the cornstarch and water in a bowl. Add in the next 8 ingredients and whisk to combine. 
3. Place chunks of chicken into an 8x8 pan. Pour sauce mixture over top of chicken and stir to combine. 
4. Bake for 20 minutes, give a stir, then bake an additional 20 minutes. 
5. If the sauce is too thin for your liking, pour the sauce into a small saucepan and boil over medium-high heat until thick and syrupy. 
6. Pour the thickened sauce back over the chicken and serve.