Monday, September 28, 2015

Spiced Yogurt Muffins


Let me start this post off by saying I hate wasting food...I absolutely hate it. I do not buy an item unless I know I will be able to use all of it in some way or another. When my baby girl was 6 months old and started eating solid food, I wanted to get some whole milk yogurt for her. The best options for plain unsweetened whole milk yogurt at my local grocery store all come in a 32 ounce container...that's a lot of plain yogurt, and no one else in the family eats plain yogurt by the spoonful. 

Since, as I said before, I do not like wasting food, I had to find other ways to use this vast amount of yogurt because there is no way my baby could eat 32 ounces of yogurt before the expiration date. Currently my favorite way to use extra yogurt is to add it to pancakes such as Whole Wheat Chia Seed Pancakes. Yum! But today I was in the mood for muffins and, of course, I have a large container of plain yogurt in my refrigerator that I need to use up. I found a lot of recipes that sounded just delicious (translation: future blog posts!), but the one I finally landed on came from Food and Wine, and, let me tell you, these spiced yogurt muffins certainly hit the spot! 

These muffins are so light and moist with delicious warm spices and not too sweet for breakfast. They are delicious with a cup of coffee! Even though they are not overly sweet, these muffins do contain a cup of brown sugar. I did let my three-year-old have one. Actually, he had two. He grabbed a second one when I wasn't looking! I can't say that I blame him...they were quite good! I usually do not give him anything with that much sugar for breakfast, but I believe it is okay in moderation, and he eats very well. Also, I could not eat them in front of him without offering him one. Especially since he saw me making them and got really excited when I said I was making muffins. The baby girl did not have one of these...I'm sure she would have loved it, but I really try to limit her sugar since she is only one-year-old and still getting used to eating solid food. 

But enough talking about these muffins...let's get to making them! Like any quick bread, these muffins start by combining the dry ingredients in one bowl, the wet in another, then gently mixing them together until they are just combined. Always follow this rule with standard pancakes, muffins, waffles, etc. and they will turn out light and fluffy for you! 

The original recipe called for mixing the dry ingredients together in a food processor, but that sounded like unnecessary extra dishes to wash in my opinion, so I skipped that and simply whisked them together in a large bowl. I also chose to include the brown sugar with the wet ingredients since there was so much of it. I was afraid it would not incorporate well with the flour and spices without using a food processor (as suggested) and thought that it would melt into the wet ingredients (which it did). So in a large bowl, I whisked together 2 cups of all-purpose flour, 1 Tablespoon of baking powder, 1/2 teaspoon of baking soda, 1/2 teaspoon of salt, 1 teaspoon of cinnamon, 1/2 teaspoon of allspice, 1/2 teaspoon of cloves and 1/2 teaspoon of freshly grated (or regular ground) nutmeg. This is quite a few ingredients, so I actually mixed these together at night before I went to bed and covered the bowl with plastic wrap till morning. All of that measuring is a little time-consuming with two tiny humans running around under your feet! I imagine you could use 2 1/2 teaspoons of pumpkin pie spice if you have it, but I have not tried this since I don't keep it on hand. I happened to have all of these spices in my cabinet...I love having a well-stocked spice cabinet! 


Next in a medium bowl, I whisked together the 2 eggs, 1 1/4 cup of plain yogurt, 1/4 cup of unsweetened applesauce, 1 teaspoon of vanilla, 4 Tablespoons (or 1/2 a stick) of melted butter, and 1 cup of brown sugar. The original recipe calls for plain low-fat yogurt, but I used whole milk because that's what I had. It just added extra fat to the recipe, but I wasn't really going for a super-healthy low-fat recipe here. I think vanilla yogurt would also work if that is what you have. I'm all about using what you have in a recipe if it make sense. 


Then I poured the yogurt mixture into the bowl with the flour mixture and gently mixed until it was just combined. Don't worry about lumps...they will take care of themselves when the muffins bake. You just want to mix it enough that when you gently move the batter around you don't see big spots of flour. I also like to let muffin and pancake batters rest for a few minutes. That is why I put the oven temperature later in the recipe. I do the same with pancakes. I make the batter, set it aside, then preheat my oven. Then the batter has a chance to rest for a few minutes while it is preheating. 


That was before resting, and this is what it looks like after resting only 5-10 minutes. I'm not sure if you can tell a big difference in the pictures (I apologize, I am definitely more of a cook than a photographer!) but small bubbles will start to appear in your batter. If you give it another stir, do so very gently! 


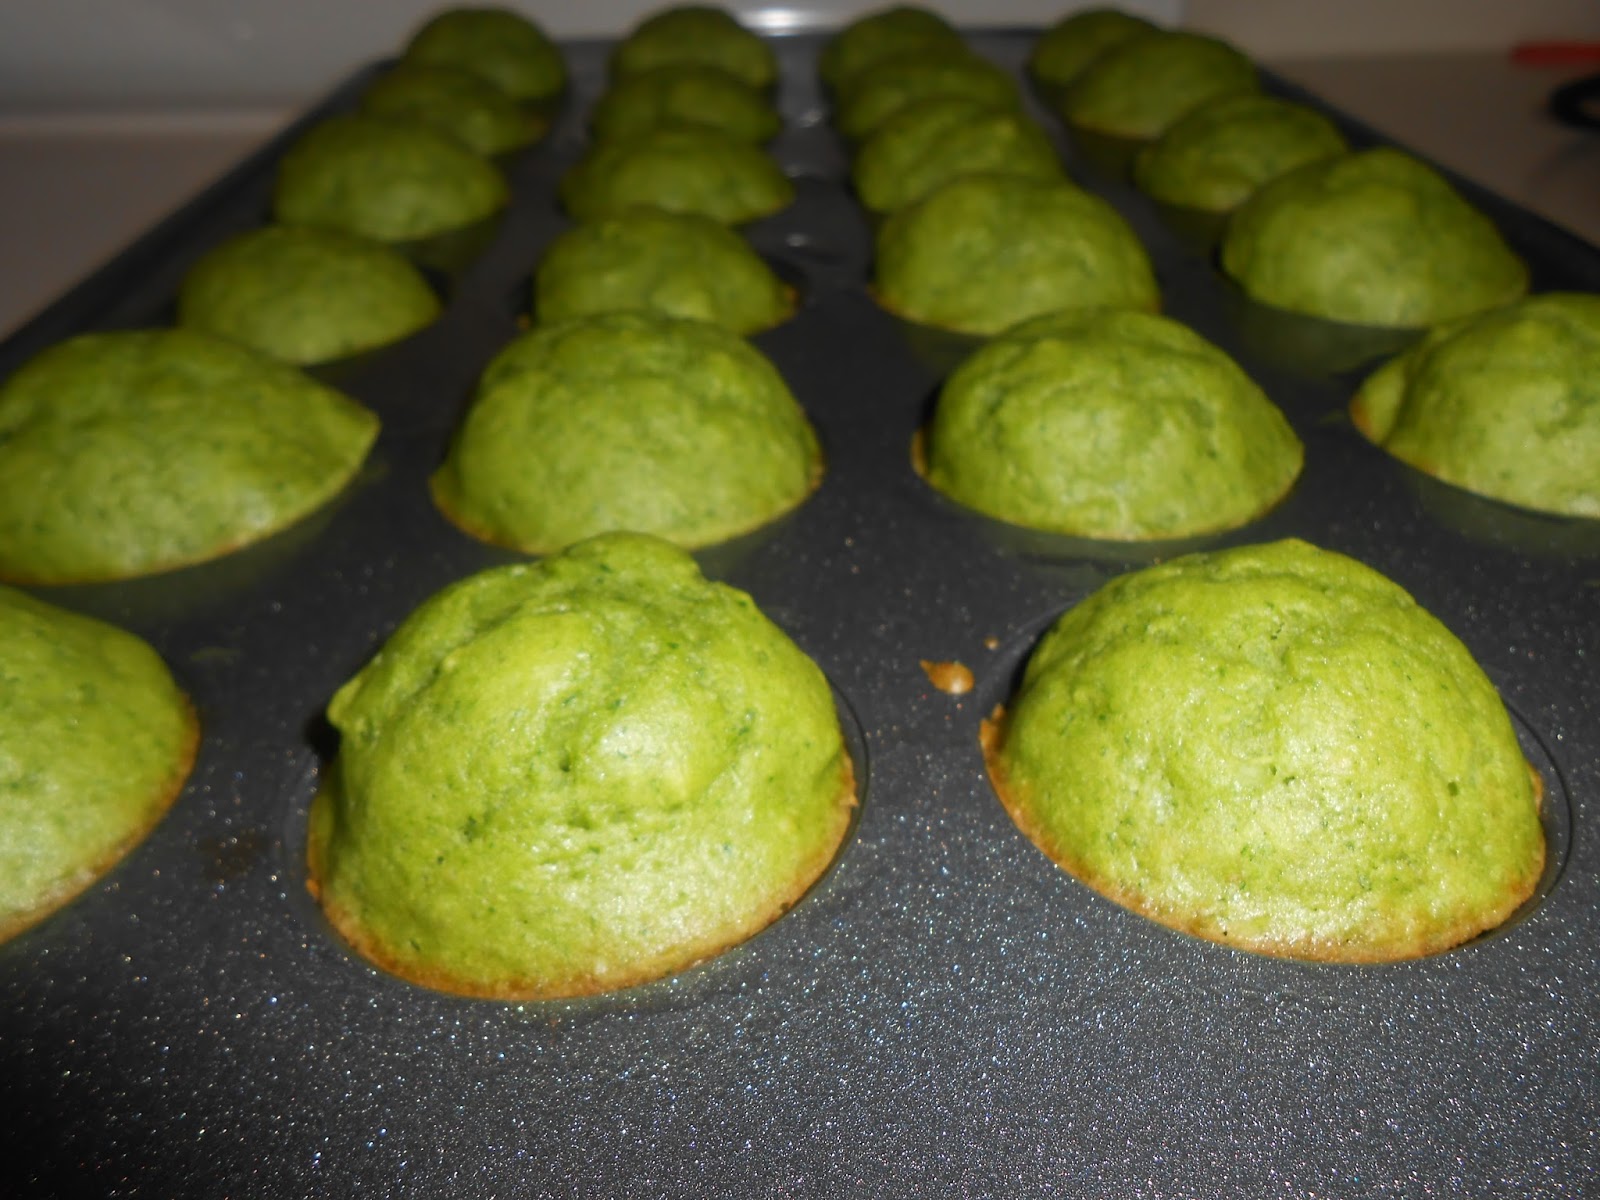
I set my oven to 375° and put paper liners in my muffin tin then lightly sprayed them with cooking spray. I used coconut oil spray, and the muffins still stuck to the paper slightly if I didn't remove them slowly, so I don't think I would try these without the liners. Then I spooned the batter into the prepared muffin cups filling each cup about 2/3 full. I typically over-fill when making muffins and cupcakes and then I get less than what the recipe calls for, but this time it was perfect, and I actually ended up with exactly 18 muffins! I was so proud! (It's the little things, ya know.) Then I sprinkled the batter with some cinnamon-sugar. I'm sure you could skip this step, but I do love a little sugar on top of a muffin. The original recipe called for sprinkling them with a mixture of 1 Tablespoon of sugar and 1/4 teaspoon of nutmeg, but I much prefer the taste of cinnamon to nutmeg, and I keep a container of cinnamon-sugar in my cabinet at all times. You just never know when you're going to need a little cinnamon-sugar in your life! I don't typically keep pumpkin pie spice on hand, but if I had some, I definitely would have used a combination of sugar and pumpkin pie spice just to highlight all of those warm spices even more! 


Then I baked them for 18 minutes. They smelled heavenly while baking! The house was filled with a lovely spicy aroma that I adore! After the 18 minutes were up I took the muffins out of the oven and touched the tops gently and they were springy, and I also tested with a toothpick that came out clean, so I knew these were good to go! You don't want to press your finger into the muffin because they are tender, so of course they won't spring back if you do that. Just press them gently and if the tops spring back and there is no finger indention left in the muffin, you know they are ready. 


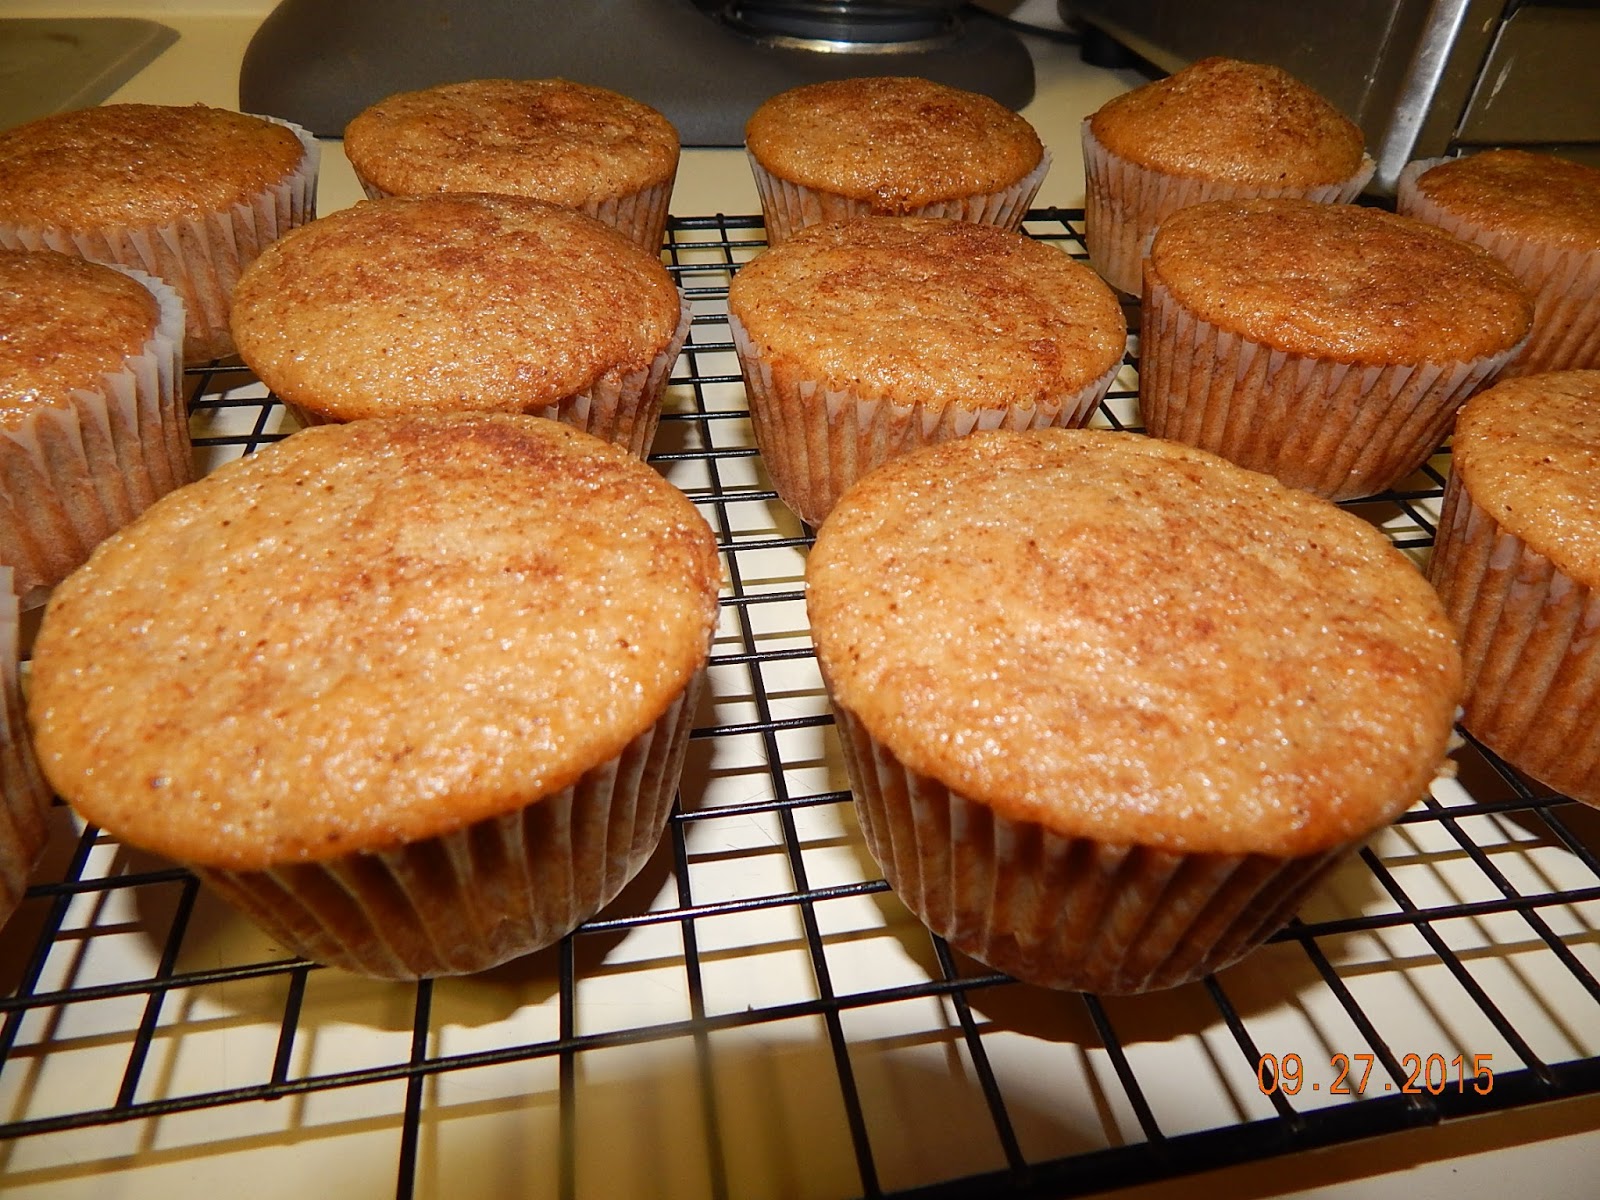
Let them cool in the pan for a few minutes then transfer them to a wire rack. These were delicious warm from the oven, but I suspect they might be even better the next day...I'll certainly find out in the morning! (**Update: I had one this morning with my coffee. I think they were best warm from the oven, but they were still very good at room temperature!) 


I imagine you could make these muffins a bit healthier. Perhaps I will try the next time I make them (I will update with any changes or substitutions at that time.). I would use half white and half white whole wheat flour. You could probably also cut down on the sugar and maybe increase the applesauce to compensate or even add in a bit of maple syrup or honey. I also imagine you could use coconut oil in place of some or all of the butter and throw in some flax or chia seeds. I have not tried any of this, so I cannot speak to how the muffins would turn out with these changes, but if you try any of them before I get a chance, post a comment please! 


These muffins are perfect for fall and the coming winter months. I hope you will try them, and if you do please let me know if you liked them as much as I did! Happy muffin-making! 


Spiced Yogurt Muffins
Original Recipe from Food and Wine

Ingredients
2 cups all-purpose flour
1 tablespoon baking powder
1/2 teaspoon baking soda
1/2 teaspoon salt
1 teaspoon ground cinnamon
1/2 teaspoon ground allspice
1/2 teaspoon ground cloves
1/2 teaspoon freshly grated nutmeg (or ground nutmeg)
2 large eggs, at room temperature
1 1/4 cups plain yogurt (whole or low-fat)
1/4 cup unsweetened applesauce
1 teaspoon vanilla extract
4 tablespoons unsalted butter, melted
1 cup light brown sugar
Cinnamon-Sugar for sprinkling on top (optional)

Instructions
1. In a large bowl, whisk together the flour, baking powder, baking soda, salt, cinnamon, allspice, cloves and nutmeg.
2. In a medium bowl, whisk together the eggs, yogurt, applesauce, vanilla, butter, and brown sugar. 
3. Pour the yogurt mixture into the bowl with the flour mixture and gently mix until just combined. Set aside. 
4. Heat the oven to 375°. Line 18 muffin cups with paper or foil liners. Lightly spray the liners with cooking spray.
5. Spoon the batter into the prepared muffin cups filling each cup 2/3 full. Sprinkle each muffin with some cinnamon-sugar (if desired). 
6. Bake for 18 minutes, until the muffins are springy; let cool in the pan for 5 minutes, then transfer to a wire rack. Serve warm or at room temperature.

Looking for more recipes? Follow me on Pinterest! 

Visit Mom2Jude and Lily's profile on Pinterest.


Instagram

Monday, September 14, 2015

Spinach Pancakes!


So as you may be able to tell from my previous spinach muffin post, I love finding ways to add veggies into breakfast! My 3-year-old loves eating foods that are different colors, so when I asked him if he wanted some green pancakes he was completely on board! Like the spinach muffin recipe, I found this one on Weelicious. I love the recipes on this site. I have tried several, and they have all turned out great! So let's get started with these spinach pancakes! 


These pancakes start like most others, start by whisking together 1 cup white whole wheat flour, 1 Tablespoon of sugar, 1 teaspoon of baking powder, 1/2 teaspoon of baking soda, and 1/2 teaspoon of salt. Then set this aside. 


Next put 1 cup of spinach leaves (pack them into the measuring cup!), 1 cup of buttermilk*, 1 large egg, 1 Tablespoon of canola oil (or you can use coconut oil that has been melted and cooled), and 1 teaspoon of vanilla into a blender and blend until it is completely pureed. **Updated 11/22/15 to say that I used 1 1/2 cups spinach the last time I made these with very good results. The pancakes were a little less fluffy, but they were still very tasty!** 

*For the buttermilk, I added 1 Tablespoon of white vinegar to a measuring cup and poured in milk to come up to the 1 cup line. Then just let it sit for 5 minutes, and voila! Homemade buttermilk! 


  It should look like this pale green liquid pictured below. 


Next, take pour the wet ingredients from the blender into the flour mixture in the bowl. 


And mix them together until it is just moistened. It is important to never over mix pancake batter! Not over mixing helps to ensure your pancakes will be fluffy, and don't we all want fluffy pancakes? 


After you have your pancake batter ready, preheat an electric griddle or a large skillet. I set my griddle to 325 for pancakes. I would say medium heat if you are using a large skillet on a stove. If you make a lot of pancakes, I highly recommend purchasing an electric griddle. You can make several pancakes at once, which means you can get to eating them much sooner! 

Also, it is a good idea to let your pancake batter rest for about 5 to 10 minutes. I usually just wait until my pancake batter is completely finished to preheat the griddle, and by the time it is preheated the pancake batter has had plenty of time to rest. 

Grease your griddle or skillet with butter or oil. I take a stick of butter and wipe it across the top of my griddle...it's a little tip I learned from the Pioneer Woman, and she knows her stuff! Then just pour whatever sized pancakes you like. I make rather small ones because my son likes to pick them up and eat them like cookies. 


**Updated 11/23/15: I have recently started making pancakes for my children using a 1 Tbsp measuring spoon. It creates the perfect sized pancakes for little hands to hold on to! See below! 


While they were less fluffy than without the extra 1/2 cup of spinach, they still puffed up nicely! 


Cook the pancakes until small bubbles appear and the edges start to look dry, 
then flip them over. 


Cook until the second side is browned, then remove to a plate. I then spread them with a little butter and sprinkle with powdered sugar. 


The little boy couldn't wait! He actually ate 5 of these, so I call that a successful recipe! 


The baby girl approved too...although I don't think I've ever given her anything she did not like. 


I like my pancakes covered in maple syrup...yum! Please excuse my Minnie Mouse plate...it was leftover from my daughter's first birthday party, so I'm eating everything on them. These pancakes were very good! We've made them twice now and will continue to make them! 


When you make tiny kid-sized pancakes, you don't feel so bad about stacking 3 of them right together! 


These were seriously yummy!! 


Here's the recipe if you want to give them a try! 

Spinach Pancakes
Adapted slightly from Weelicious

Ingredients
1 to 1 1/2 cup packed fresh spinach
1 cup buttermilk*
1 large egg
1 tablespoon canola oil or coconut oil (melted and cooled) 
1 teaspoon vanilla
1 cup white whole wheat flour
1 tablespoon sugar
1 teaspoon baking powder
1/2 teaspoon baking soda
1/2 teaspoon salt

Preparation
1. In a medium bowl, whisk together the flour, sugar, baking powder, baking soda, and salt. 
2. In a blender, combine the spinach, buttermilk, egg, oil and vanilla and blend until smooth.
3. Pour the spinach mixture into the bowl of dry ingredients and mix until just combined. 
4. Heat a large pan or griddle over medium heat and grease with butter or oil.
5. Pour batter onto griddle to make small to medium sized pancakes. Cook until small bubbles appear and the edges start to look dry and browned. 
6. Flip the pancakes and cook until browned on the opposite side. Serve. 

*For buttermilk, I used 1 Tbsp white vinegar plus enough milk to make 1 cup of total liquid. Let sit for 5 minutes and use in place of buttermilk. 


Want more kid-friendly food ideas? Check out my board on Pinterest! 

Follow Mom2Jude and Lily's board Toddler and Kid-friendly Food on Pinterest.


Instagram

Wednesday, September 9, 2015

Spinach Mini Muffins!


After a 2 month or so break from the blog, I'm back, and I have lots of recipes to share! I decided to start back up with my toddler's current favorite breakfast...spinach muffins! Yes, that's right, SPINACH muffins, or green muffins as he calls them. This is the third time I have made them, and he ate 8 of them! I can't say that I blame him. They are delicious! I was skeptical at first, but I am so glad I decided to give this recipe a try. Every time I make these mini muffins I increase the spinach, and you cannot taste the difference. It just makes the green color more vibrant and, of course, adds extra nutrition! 


So you may be thinking, "Why should I add spinach to muffins?" Spinach is an excellent source of vitamin K and a very good source of vitamins A, C, and folate. Spinach also contains minerals such as manganese, magnesium, calcium, zinc, and iron. We all need to be incorporating more dark leafy greens such as spinach into our diets, and throwing some into some muffins is a simple way just to add a little extra spinach into your diet! You can read more about the health benefits of spinach here and here. More on dark leafy greens here

So now that we've discussed how delicious these muffins are and some of the benefits of adding more spinach to your diet, let's make some of these delicious spinach muffins! 

Start by putting 1/2 cup of applesauce, one egg, 2 teaspoons of vanilla extract, 2 cups (or more) of spinach, 1/3 cup of sugar, and 2 Tablespoons of canola oil into a blender. Yes, there is a little bit of sugar in this recipe. I'm sure you could probably substitute that with a banana or perhaps more applesauce if you choose. I, personally, believe that 1/3 cup of sugar in an entire muffin recipe is not that much sugar, so this does not bother me. Feel free to make substitutions to suit your family's diet and preferences! 

**Updating 11/22/15 to say I have used as much as 2 1/2 cups of spinach with great results, however you can start to very slightly taste the spinach at that point, so be aware of that if you decide to add more than that. I have used both canola oil and coconut oil in this recipe with great results. I also used brown sugar instead of white sugar when I was out of it, and they were still good! The white sugar is definitely the way to go, but brown will work in a pinch!**

Pile all of these ingredients in your blender and puree until it is all liquefied. 


It should come out looking like this green liquid. Just be patient and you may need to stop and stir your ingredients around a little with this large amount of spinach. 


**Updated 11/23/15: Then in a separate bowl combine 3/4 cup of all-purpose flour, 3/4 cup of white whole wheat flour, 1 teaspoon of baking powder, 1/2 teaspoon of baking soda, and 1/2 teaspoon of salt. I always use a whisk to mix dry ingredients together. It helps to remove any lumps that may be in the flour. So in my initial post, this recipe called for 1 1/2 cups of all-purpose flour. I tried using 3/4 cup all-purpose flour and 3/4 cup white whole wheat flour, and I was very pleased with the results! The texture was still very soft which is one of my favorite parts about these muffins. I liked it so much I have changed the recipe! I love making healthy changes without sacrificing quality and flavor! I have also made them with all white whole wheat flour and they were not nearly as soft and tender. The batter was thicker, so I had to add a splash of milk, and they took an extra minute to cook. My children enjoyed the results just fine, so if you want to use all whole wheat flour, go for it! But personally I feel the finished product is better with half all-purpose and half whole wheat flour.


Next pour your wet ingredients from the blender into your dry ingredients in the bowl. Be sure to scrape out your blender! You want all of that spinach mixture in your muffins! 


Then just stir to combine. Break up any large chunks of flour if you see them, but it is important to not over mix muffin batter. 


Then pour your batter into a greased mini muffin tin. I greased my muffin tin with coconut oil spray, and I had no problems with them sticking. Fill the mini muffins mostly full. You should get 24. 


Then bake them in a preheated 350 degree oven for 11 minutes. The original recipe suggests baking them for 12 minutes, but I found that mine were a tad dry the first time I made them, so I reduced it by a minute and they came out perfect! Oven times and temperatures may vary, so I would start checking them around 10 minutes the first time you make them just to make sure you don't over cook them. They come out looking like this!


They puffed up nicely, and I seriously love the green color! 


 After they cool for a minute, simply pop them out and put them on a cooling rack. I put a small plate of 5 of them in the freezer for a few minutes to cool quickly for my kids. 


Then serve them right up to your children and yourself because trust me they are delicious! These also freeze very well. I freeze what I have leftover on a plate or tray for about an hour, then pop them into a labeled freezer bag. Simply pull out how many you need and defrost in the microwave. I made a double batch recently because these go so quickly at my house! I used 5 cups of spinach total in the double batch and you can see how dark the green color was below! 


I definitely recommend making a double batch if your toddler devours 8 in one sitting like mine did other wise you won't have very many left over! 


This would make a great little breakfast with a side of fruit. It looks beautiful alongside those red strawberries! My son really enjoys eating things that are different colors, so he was really excited about this! 


If your kids don't enjoy green color in foods, this may not be the best recipe for them. My son, however, really loves foods that are all different colors, so he is excited to eat a muffin (or pretty much anything) that is green! My baby girl loves these too! She is almost one year old and she likes to share her food with me even when I am taking a picture! 
  

Here she dug right in! Yummy! They seriously taste like cake...don't let the spinach frighten you! I considered posting a picture of myself eating one just to prove that I like them too. Unfortunately I don't look as cute as my babies do first thing in the morning.  


Here's the handy dandy recipe since I'm sure you want to get right to making these! They are definitely worth a try! 

Spinach Muffins
Adapted from Weelicious

Ingredients
1/2 cup unsweetened applesauce
1 large egg
2 teaspoons vanilla extract
2 cups fresh spinach, packed 
1/3 cup sugar
2 tablespoons canola or coconut oil (melted and cooled slightly)
3/4 cup all purpose flour
3/4 cup white whole wheat flour
1 teaspoon baking powder
1/2 teaspoon baking soda
1/2 teaspoon salt

Preparation
1. Preheat oven to 350 degrees.
2. Put the applesauce, egg, vanilla, spinach, sugar, and oil in a blender and puree until it is completely liquefied.
3. Whisk flours, baking powder, baking soda, and salt together in a large bowl. 
4. Pour the spinach mixture into the flour mixture.
5. Slowly mix the wet ingredients into the dry ingredients until combined.
6. Pour batter into a greased mini muffin tin, filling each cup most of the way full.
7. Bake for 11 minutes. Remove to wire rack to cool. 

To freeze place muffins on a plate or sheet tray in the freezer for about an hour. Move to a labeled freezer bag. Defrost desired number of muffins in the microwave when ready to eat! 

Want more delicious breakfast and kid-friendly recipes? Follow me on Pinterest! 

Visit Mom2Jude's profile on Pinterest.


Instagram